

A common request from many users is how to create a holey polygon and then use it to clip a grid in Petrosys PRO. This can be easily done using the Spatial Editor, the powerful tool in Petrosys PRO that allows you not only to edit spatial data, like GIS data or contours, but the grid itself in an interactive way. The Spatial Editor has been around for quite a while now, but the ability to edit the grids was added in the 17.8 release.
 Below we have outlined one of the ways of launching the Spatial Editor and therefore address this workflow, but please keep in mind this can be done using different methods.
The initial step would be to display the grid in the Spatial Editor. To do that, in Mapping go to the Edit menu and launch the Editor. Then drag the grid from the Display List into the editor.
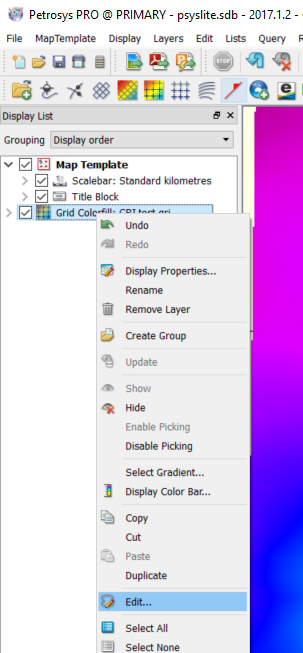
Alternatively, you can select the grid from the Display List or the mapping canvas, click the right mouse button and select Edit…
Now let’s create the holey polygon. Petrosys PRO uses shapefiles to create this type of polygon. In the Spatial Editor, go to File > Create… Once the Create New Feature Class panel is open, set the layer type ‘Full definition’ and the source to ‘Shapefile’.
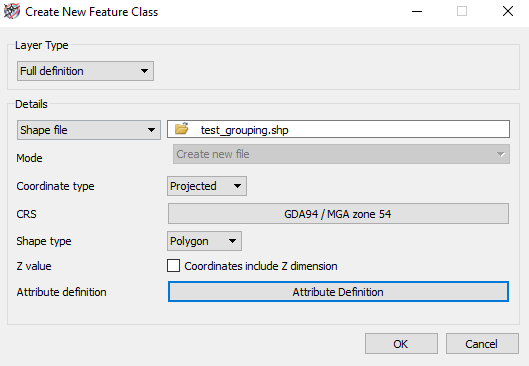 Enter a name for the file and set the Shape type to ‘Polygon’. Populate additional parameters accordingly, including attributes and click Ok. Tip: It is sensible to create a name attribute to identify the relevant polygon.
Now you are ready to digitise the polygons that will make up the holey polygon.
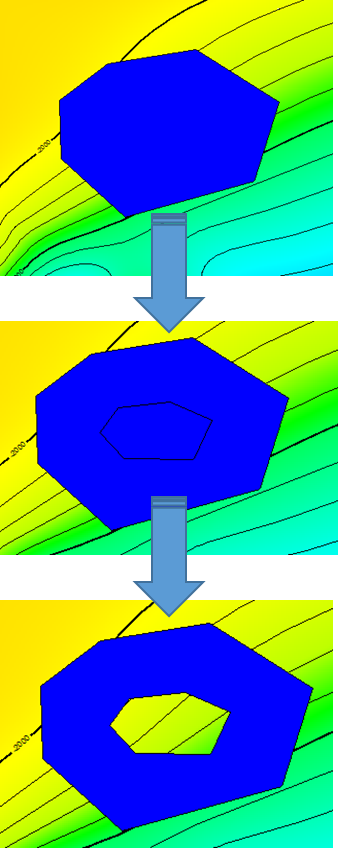 Select the “pencil” icon and draw a polygon that it will be the external outline of the holey polygon.
Follow by drawing an inner polygon that will represent the internal outline.
Then select both polygons by holding the Ctrl key and LMB in each polygon. Once both polygons are selected, click RMB and select ‘Group’. Tip: if you cannot see the smaller polygon before grouping, you can select the bigger polygon > RMB > Move to Back.
The holey or doughnut polygon has been created! Click ‘Save’.
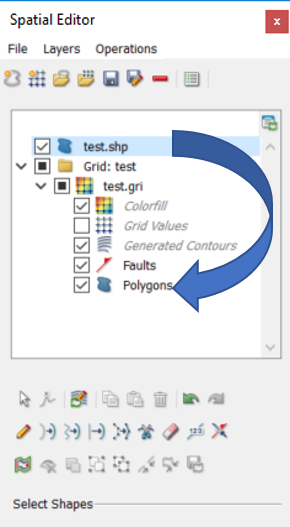
The next step will be to drag the holey polygon (shapefile layer) into the ‘Polygons’ layer of the Spatial Editor. You’ll be asked to select the overwrite mode when doing this. Depending if you have additional polygons in the grid or not, you may choose ‘merge’ or ‘replace’. Then you’ll be prompted to enter the clipping polygon details. Select to clip ‘Outside’ and leave the blanking polygon value blank.
 Now that the holey polygon is part of the grid, all that is left to do is to clip the grid.
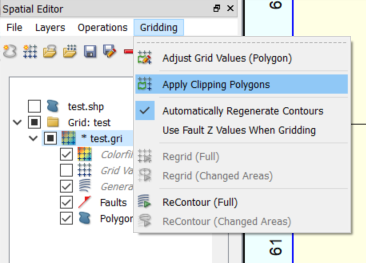
To do that, select the grid in the Editor, go to the Gridding menu and select Apply Clipping Polygons and refresh the display. Note you may need to select the ReContour (Full) option if the option to automatically regenerate the contours is disabled.
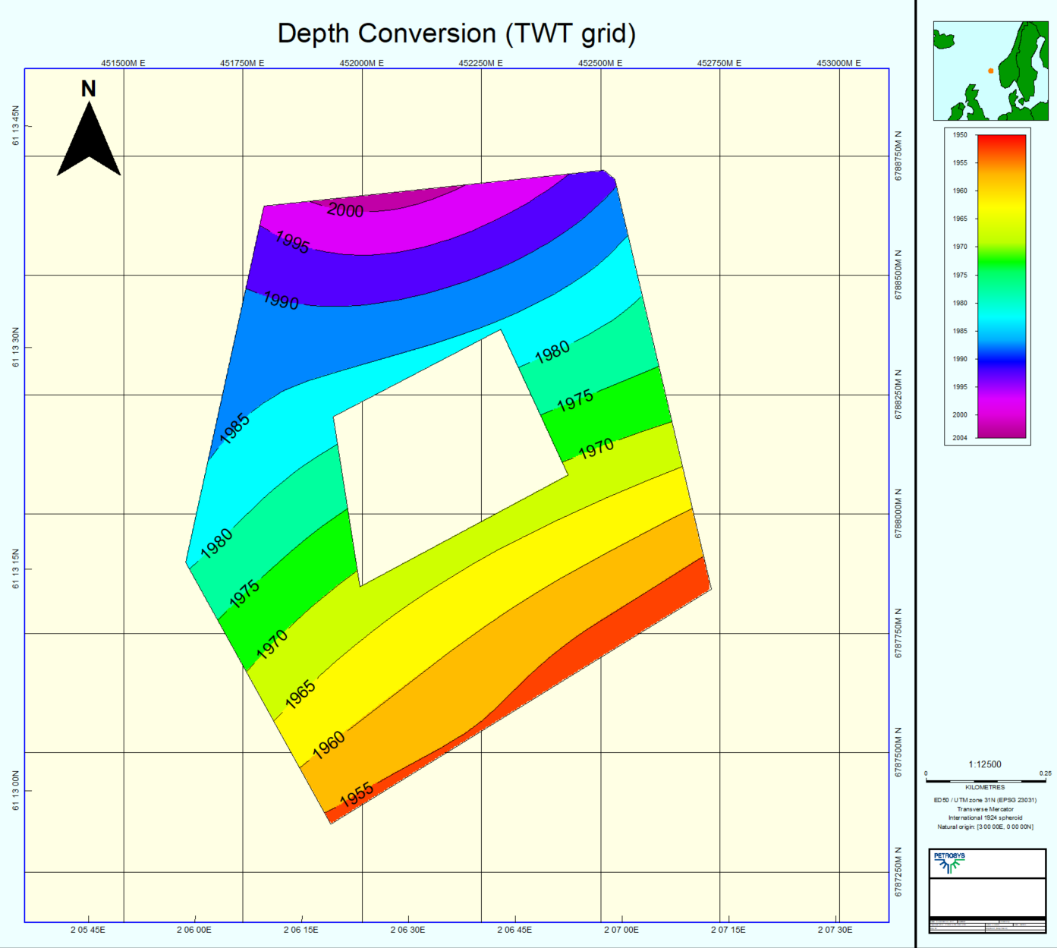
You have now clipped your grid using a holey polygon, all done interactively in the Spatial Editor!