

Petrosys PRO 2018.1 – New Features
Now in Petrosys PRO 2018.1 it is much easier to setup a Petrosys project when launching our plugins from within Petrel and DecisionSpace. This functionality has been developed to help new Petrosys users to set new projects and for a better integration with these interpretation platforms.
Below we will outlined the steps to use this new functionality in Petrel. The workflow for DecisioSpace works in the same way.
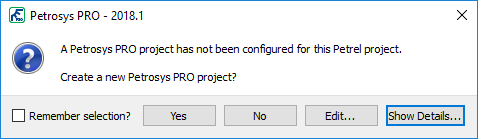
If you have not configured a Petrosys PRO project for a particualar Petrel or DecisionSpace project, a prompt similar to the one below will be displayed when launching the plugin in PRO 2018.1.

If you select ‘Yes’, then a Petrosys PRO project will be automatically created. The name of the project will be taken from the Petrel project, along the CRS details.
Notice the information about the project to be created is displayed in the Details section at the bottom of the panel. If you are not interested in seeing these details everytime you are laucnhing the Petrosys plugin, click on Hide Details… and Petrosys will remember your selection next time a project needs to be created.
Once you click ‘Yes’, as mentioned above, the project is automatically created and selected in Petrosys PRO 2018.
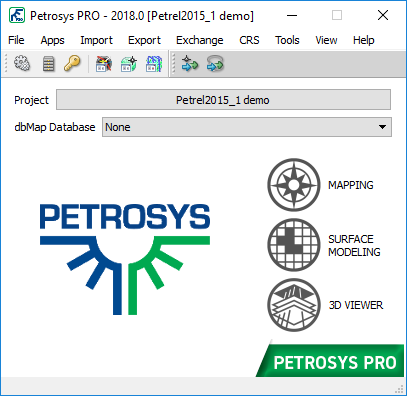
To confirm the details of the project, click on the project name to open the Project Selector. Notice the CRS has been automatically picked from the Petrel project. Also notice a description has been added to let know the users the origin of this project: Automatically generated project for the Petrel2015_1 demo Petrel project.

If, on the contrary, you already have a working Petrosys project that connects to Petrel, you could select ‘No’ to the automatic creation of the Petrosys project and may even want to enable the ‘Remember selection’ box to avoid this prompt in future occassions.
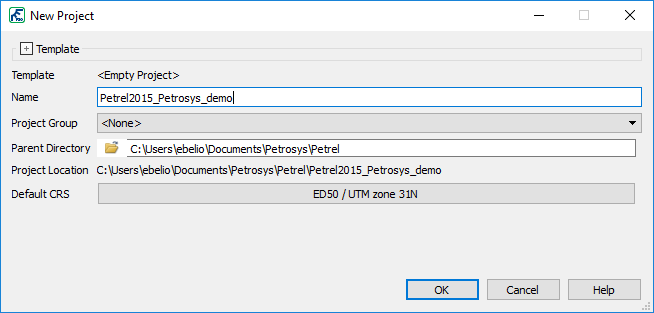
Regarding the location where the automatic projects are created along with other parameters involved in the creation of project in Petrosys, users can edit them to reflect the site or users preferency by clicking Edit… in the prompt. By doing this, users will get the ‘New Project’ panel where every detail in relation to the project to be created can be edited.
The default project location and further settings can be changed from Configuration and Settings. To do this, go to Advanced > Automatic Project Creation > Windows/Linux Project Locations and set to a relevant path.

It is worth noting that this configuration option allows a path to be set for specific project group. For instance, if a site set up a project group in Administration and assigned a path to where the projects should be, the same path can be assigned to the “home” directory for the Petrel and DecisionSpace automatic project creation options. This would make that all new projects will be created by default in that specific location with the correct group. For assistance on how to set this setting, you may want to contact Support

Also notice you can change the default action for the automatic project creation functionaliy from here (Never, Prompt, Edit or Always).
Just as a reminder of how to launch Petrosys from within Petrel, all you need to do is to open your Petrel project, locate the Petrosys PRO tab and launch the application.

If you don’t see this tab, the most likely reason is Petrel was installed or updated after Petrosys. To fix this, make sure Petrosys PRO is installed after Petrel (running a ‘change/repair’ will be enough to recreate the link).
To re-state the benefits:
In Petrosys PRO 2017 and earlier, creating a new project required:
- 11 mouse clicks
- Typing in a project name
- Searching through 2 pull-down lists for the geographic and projected coordinate system
In Petrosys PRO 2018, once the preferred configuration is saved:
- 1 click